As of 8/06/2026, any new or reactivated Vixi Suite accounts will use the new Output Design seen in this guide.
This guide will cover how to use the Output Design to customize your video board output. Click here to open this page in a new browser tab, or click here to watch the video.
Topics Covered:
- Accessing the Output Design page
- Select an Application and Template
- Summary of Customization Options
- Using the Preview Buttons
i. Accessing the Output Design page
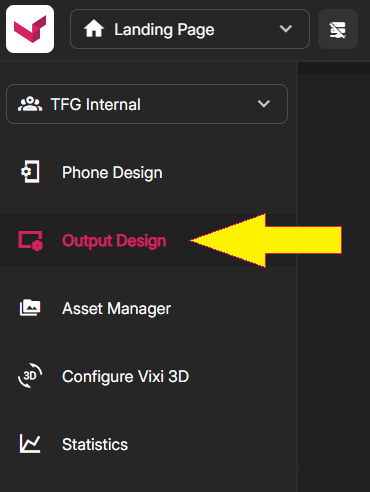
To access the Output Design page, simply mouse hover the Left Nav and select Output Design.
ii. Select an Application and Template
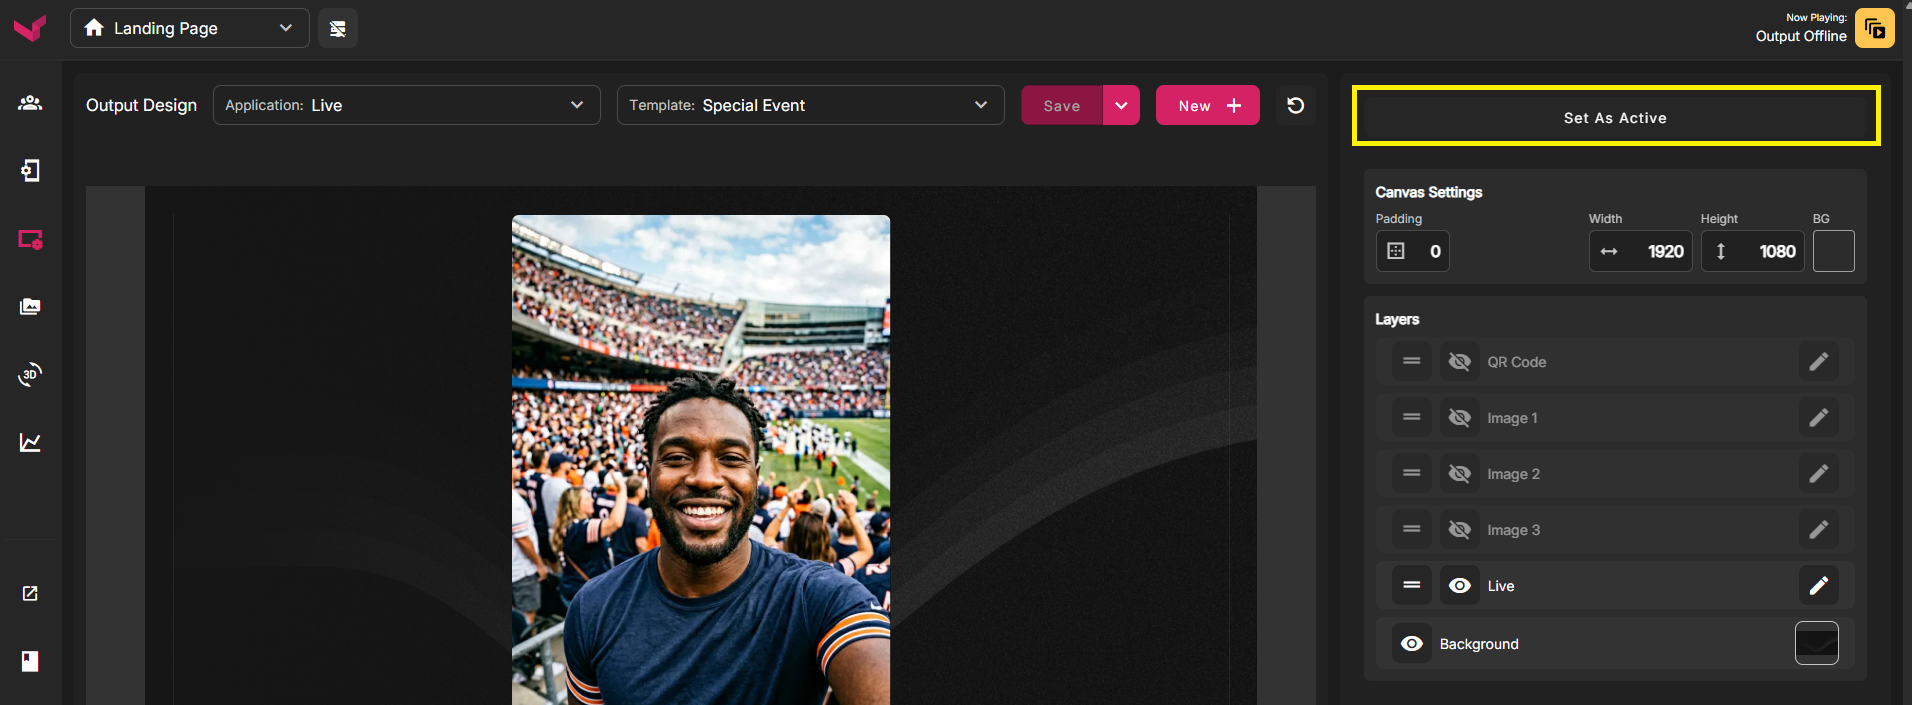
On the Output Design page, there are 2 dropdown menus near the top of the screen. Use the left dropdown to select the Application you wish to customize.
The right dropdown switches between different custom layouts that you've created, these are called Templates. When you are just getting started, you'll be using your Default Template. Note that Templates are specific to the Application they were created for, so each App has its own unique list of Templates.

Using more than 1 Template is completely optional. You can begin customizing your Default Template and never use a different one. Or you can create additional Templates at any time, and switch between them when needed.
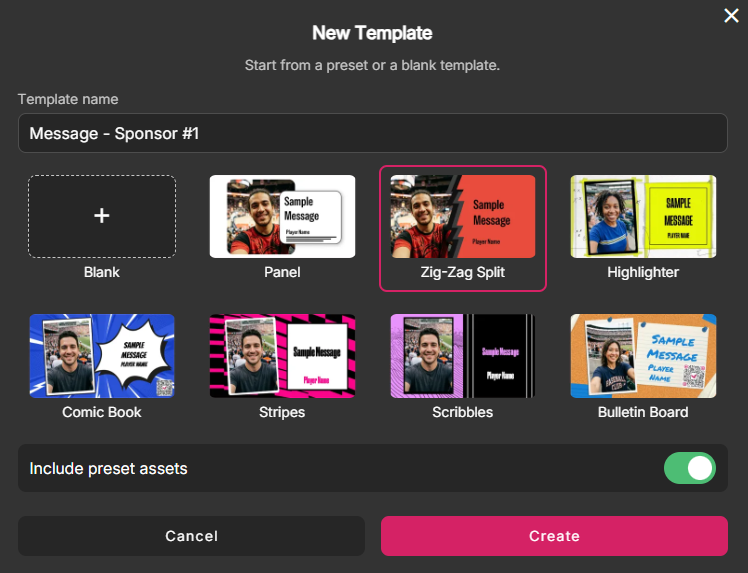
To create a New Template, click the New button. Certain apps such as Message will likely have several themed designs that you can use as your starting point. Or you can select "Blank" to start from scratch with all of the default design options.
Important: Once you've created more than 1 Template, you'll use the "Set as Active" button to tell the system which Template to currently use. Switching between templates using the dropdown menu is only for viewing/editing purposes. To activate a different Template on the Output, you MUST click "Set as Active" in the top right.
(If you change Templates while your Output is already open, you'll need to refresh the output.)
iii. Summary of Customization Options
In this section, we'll review each of the customization settings. Many of these settings are available in every app, but a few of them are specific to a single apific to a single app.
Canvas Settings: (All Apps)
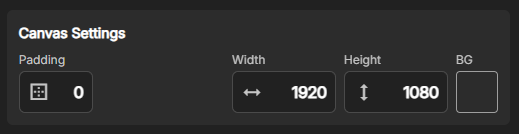
In this section you can change the Output Resolution or add Padding.
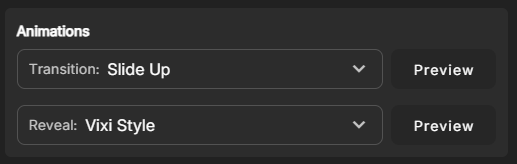
Animations: (Capture Apps)
In The Transition Animation is how the content moves on/off screen when the next item comes in. The Reveal Animation is used for Photo Magic when it goes from an Original Photo to an AI Render.
Duration: (Mosaic)
For Mosaic, the Hold Duration is how long images are displayed before being replaced by the next group of images. Move the slider to the right to hold images for longer. The Reveal Duration is how long the reveal animation takes. Move the slider to the right to slow down the animation.

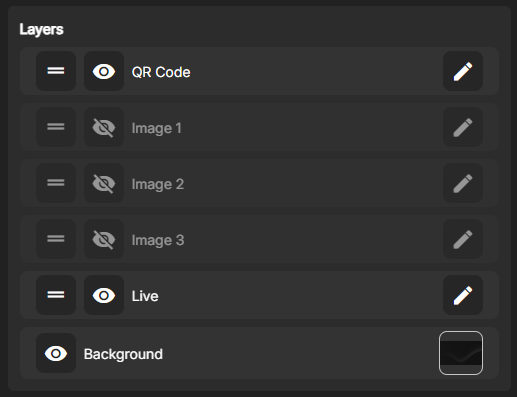
Layers: (All Apps)
The layers section is where you can upload and reposition your custom graphics. You can also hide any assets you aren't using, by clicking the eye button. In this menu you can customize the QR Code styling, upload additional smaller images, or change the background image. The picture below shows Vixi Live, where there are only a few options in the Layers section. You can click on any Pencil Icon to edit that particular feature.
Layers: (POLLING)
This section will be dedicated to the Layers options specific to Polling.
Participant Count:
The Participant count shows how many remaining active players there are. This is particularly fun in Elimination mode.
Answer Options:
This section has allows you to edit the answer text separately from the percentage text. You can change the font type, font size, font color, and the results bar color.
Leaderboard:
When you edit the Leaderboards, you are editing 2 different areas at the same time. The first area is the "Inline leaderboard". This is the leaderboard that displays on the side of your output at all times. This leaderboard can be hidden if you don't wish to use it. The other leaderboard that you are editing is the Final Leaderboard. You can choose how many players to display, and you can design the 3 different sections separately: Header, First Player, All Remaining Players.
iv. Using the Preview Buttons
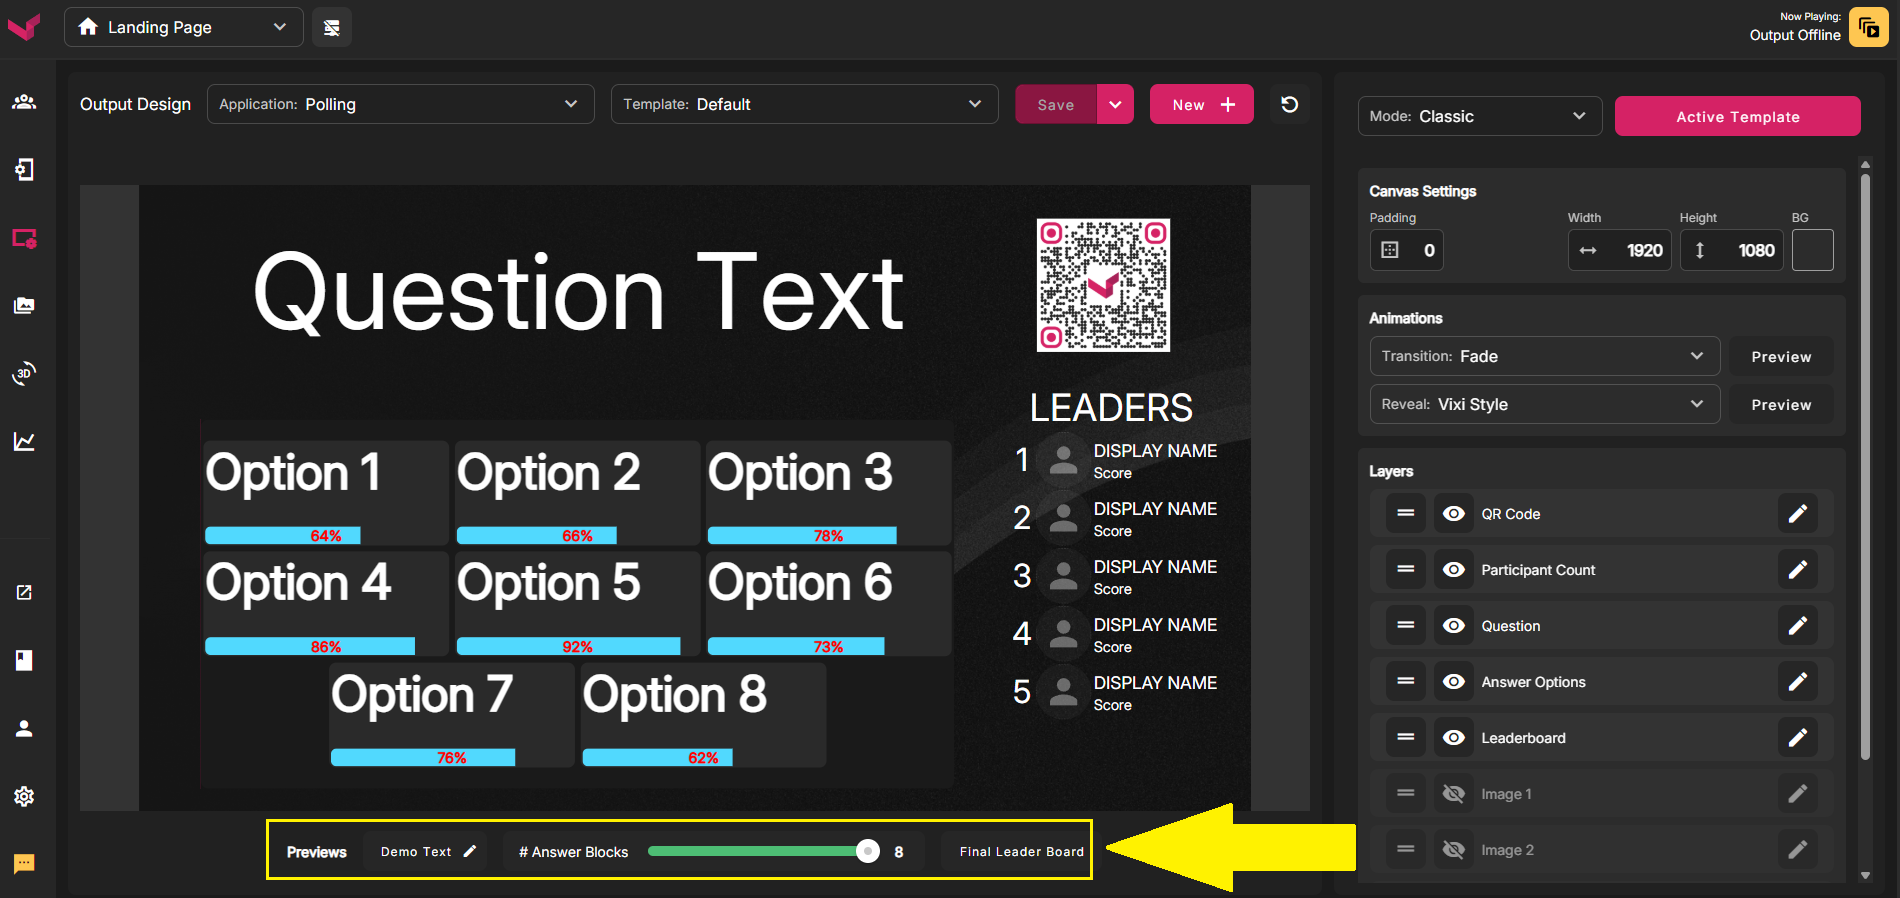
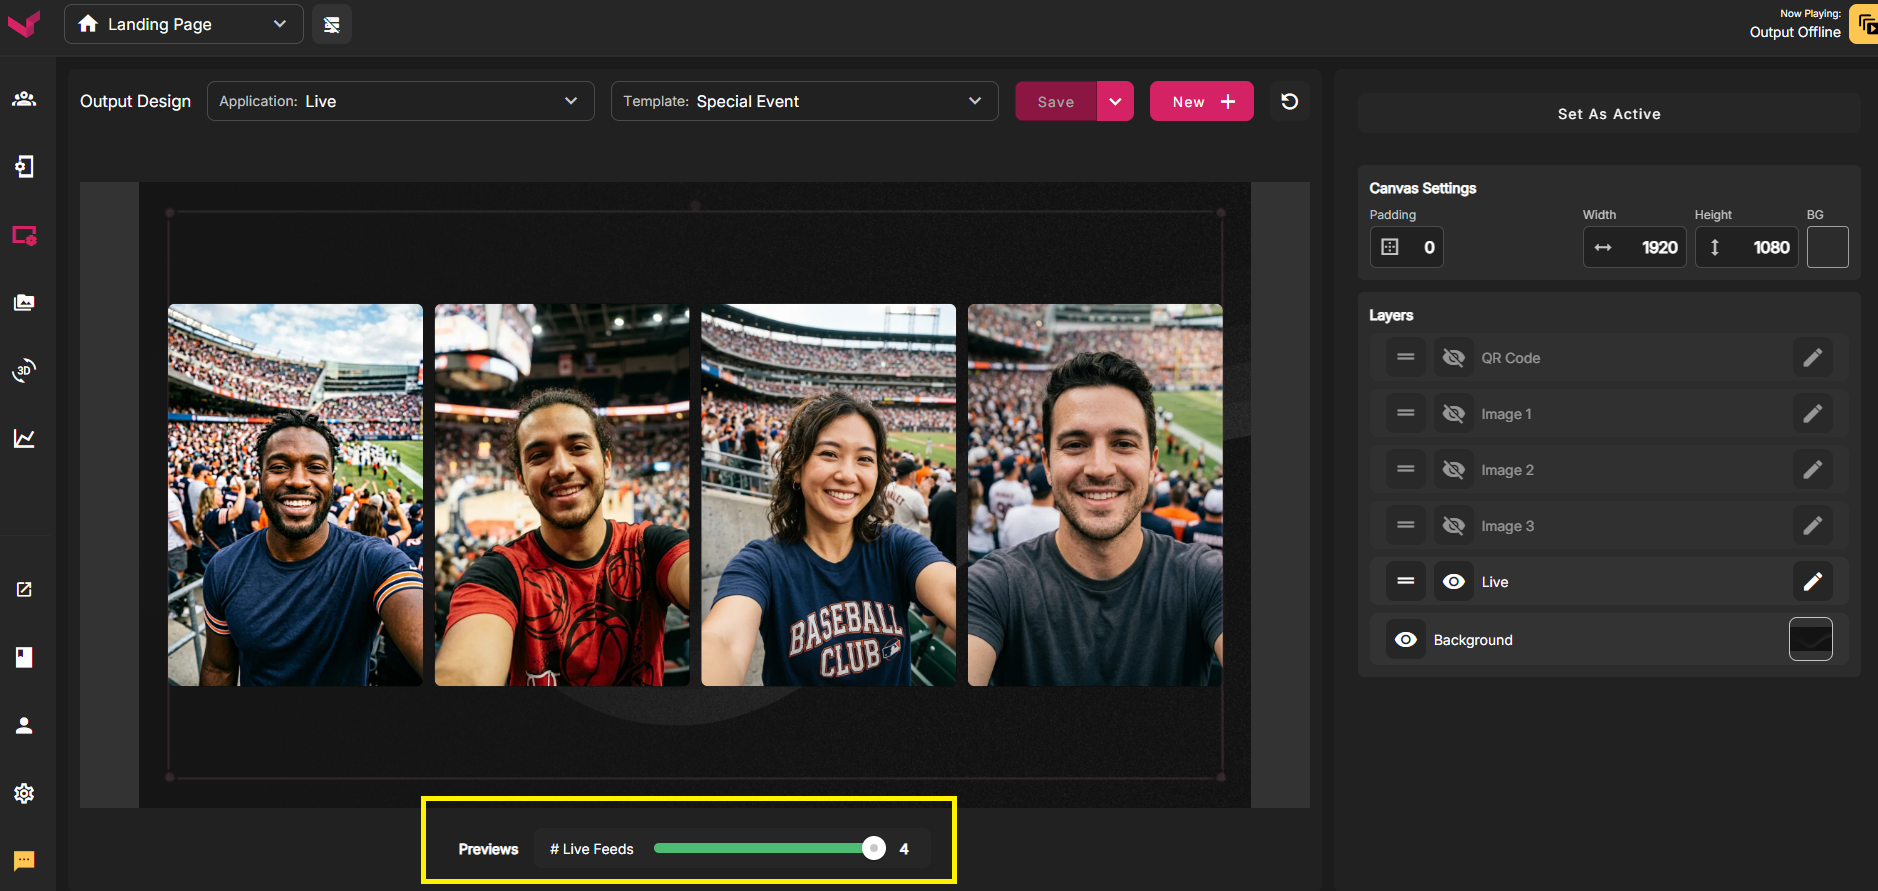
In At the very bottom of the page, many of the Apps have special preview buttons that you can use to preview various states or screens. For example, at the bottom of the screen for Polling, you can click "Final Leaderboard" to switch to a preview of the Final Leaderboard. You can also move the Answer Blocks slider to preview what the Output will look like with 2-8 answers.
he bottom of the screen for Polling, you c As another example, Vixi Live allows you top preview what your output will look like when using 1-4 fan feeds at the same time.
Please watch the video or use the Support Chat for any additional questions, thank you!
Was this article helpful?
That’s Great!
Thank you for your feedback
Sorry! We couldn't be helpful
Thank you for your feedback
Feedback sent
We appreciate your effort and will try to fix the article